

Getting your rental offer accepted is a big moment. It means you are one step closer to moving into your new home. However, before you start packing, there are several important tasks every tenant must complete to make sure the move-in goes smoothly. From confirming the lease details to setting up utilities, every step matters. By taking the right actions now, you can avoid last-minute problems and enjoy a stress-free start in your new place.
Moreover, this period between offer acceptance and closing day is the perfect time to prepare. You can use it to organize your documents, arrange payments, and communicate with your landlord or agent. In addition, planning your move early will save you both time and energy later. Whether it is booking movers, securing tenant insurance, or doing a final walkthrough, being proactive will help you settle into your new home with confidence.

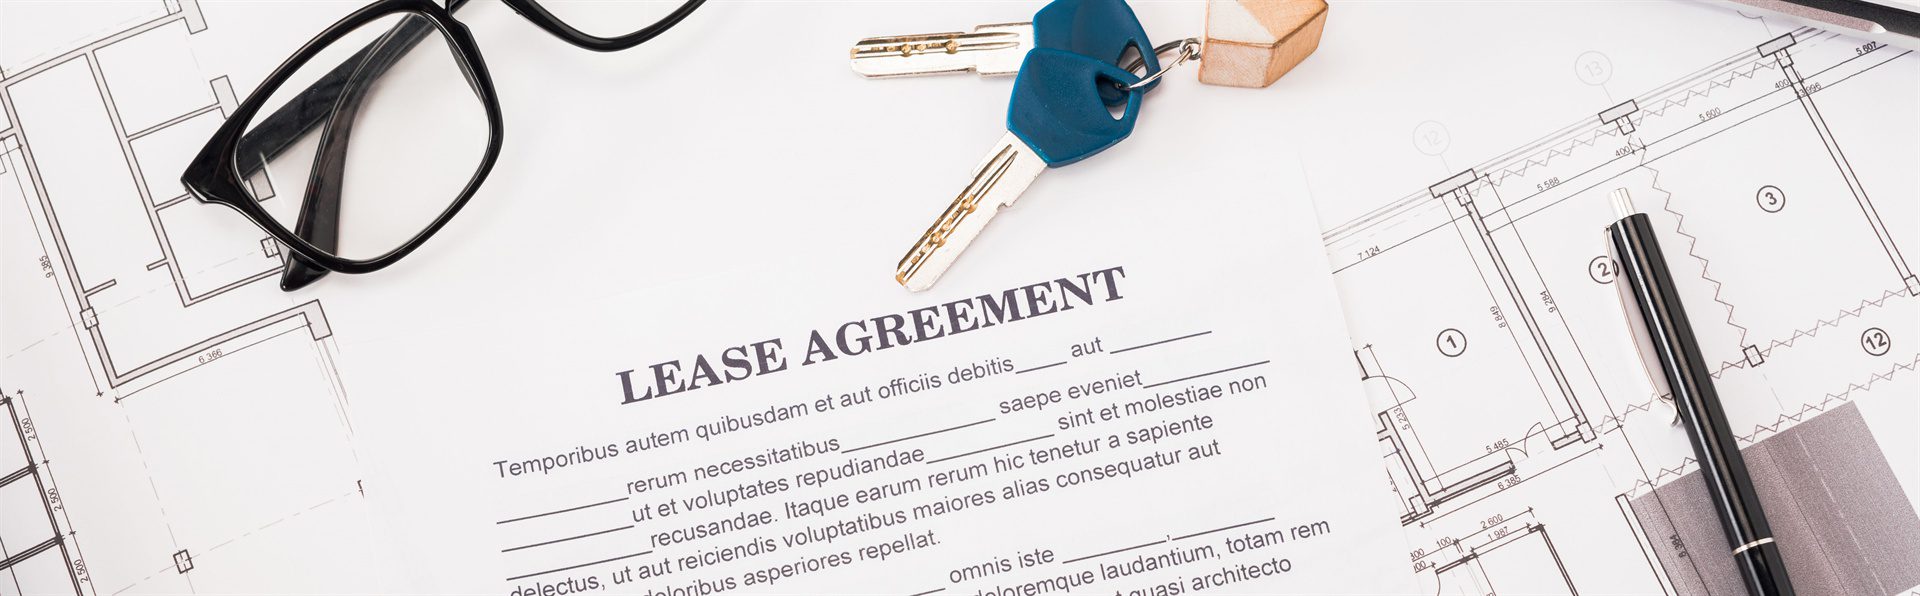
Reading your lease agreement carefully is the first step to a smooth tenancy. It helps you understand your rights, duties, and costs. Always get clear answers and put everything in writing before signing.
Once your offer is accepted, the first and most important step is to read the lease agreement from beginning to end. Do not rush through it. Every line is there for a reason. Make sure the rent amount, payment due dates, and lease term match what you discussed with the landlord. Pay attention to details like the exact address, included utilities, and any promised repairs. If you notice differences, speak up immediately.
Your lease is more than just a rent agreement — it is a set of rules that both you and your landlord must follow. It tells you your rights, such as quiet enjoyment of the property, and your responsibilities, such as paying rent on time and keeping the place in good condition. It also lists the landlord’s duties, like handling major repairs. By understanding these, you can avoid misunderstandings and keep the relationship positive.
Leases often include additional costs beyond rent, such as parking fees, key deposits, or charges for utilities. There may also be special conditions like no smoking, restrictions on renovations, or a requirement to get tenant insurance. Knowing these in advance prevents surprises and helps you decide if the property truly fits your needs.
Verbal agreements are risky because people can forget or misunderstand them. If your landlord promises to repaint the walls, fix a broken appliance, or include free parking, make sure these are written into the lease. This protects both sides and avoids disputes later.
Confirming your move-in date and payment schedule is essential for smooth preparation. With the right date in hand, a clear payment plan, and proof of transactions, you can move in without unexpected issues or delays.
After signing the lease, confirm the official closing or possession date with your landlord or agent. This is the day you can collect the keys and start living in your new home. Sometimes, landlords need extra time for cleaning or repairs, which could shift the date. By confirming early, you can plan your moving schedule, book movers, and avoid last-minute chaos.
Different landlords prefer different payment methods. Some may ask for e-transfers, others for post-dated cheques, and some for direct bank deposits. Make sure you know exactly when the rent is due each month. For most leases, rent is due on the first day of the month, but it is always best to check so you can avoid late fees.
Moving costs can add up quickly — there is rent, deposits, moving truck fees, and possibly new furniture or utility connection charges. If you know your payment schedule ahead of time, you can plan your budget better. This means you can cover all expenses without stress and still have some money set aside for emergencies.
Always keep a record of rent payments, security deposits, and any other fees you pay to the landlord. This can be receipts, e-transfer confirmations, or bank statements. If there is ever a disagreement about payments, having proof can protect you from unfair claims and keep the relationship professional.

Arranging your first and last month’s rent early ensures a smooth start to your tenancy. Clear agreements, safe payment methods, and proper receipts protect both you and your landlord.
In Ontario and many other places, landlords usually request the first and last month’s rent before you move in. The first month covers your initial stay, and the last month acts as a deposit for your final month in the unit. This gives the landlord security and ensures your commitment to the lease.
Before paying, double-check the exact total with your landlord or agent. Make sure the rent matches the amount stated in your lease. Ask when and how the payments should be made — whether it is through e-transfer, certified cheque, or another method. Having this confirmed avoids last-minute confusion.
Always pay using a method that leaves a clear record, such as e-transfer or bank draft. Avoid giving cash unless absolutely necessary, and if you do, request a signed receipt. Traceable payments protect you in case of any future disputes about whether you paid.
After sending your first and last month’s rent, ask the landlord to provide a receipt showing the date, amount, and payment method. Keep these in a safe place. This is important if you ever need to prove the payment in the future.

Completing all documents and ID checks early keeps the process moving forward without delays. Prepared paperwork, valid ID, and timely submission show professionalism and build trust with your landlord.
Landlords often require proof of income, credit reports, and references before you move in. Even after your offer is accepted, you may still need to provide updated versions. This helps landlords confirm your reliability as a tenant.
You will likely be asked for government-issued photo ID, such as a driver’s license or passport. This step confirms your identity and helps prevent fraud. Make sure your ID is valid and not expired, as outdated documents can delay the process.
Some landlords or property managers require additional forms, such as emergency contact information or maintenance request authorizations. Fill them out fully and check for mistakes before submitting. Accurate information helps avoid delays and misunderstandings later.
Delays in sending documents can push back your move-in date. To avoid this, keep a checklist of what you need to provide and when it is due. Submitting everything promptly shows you are organized and serious about the rental.
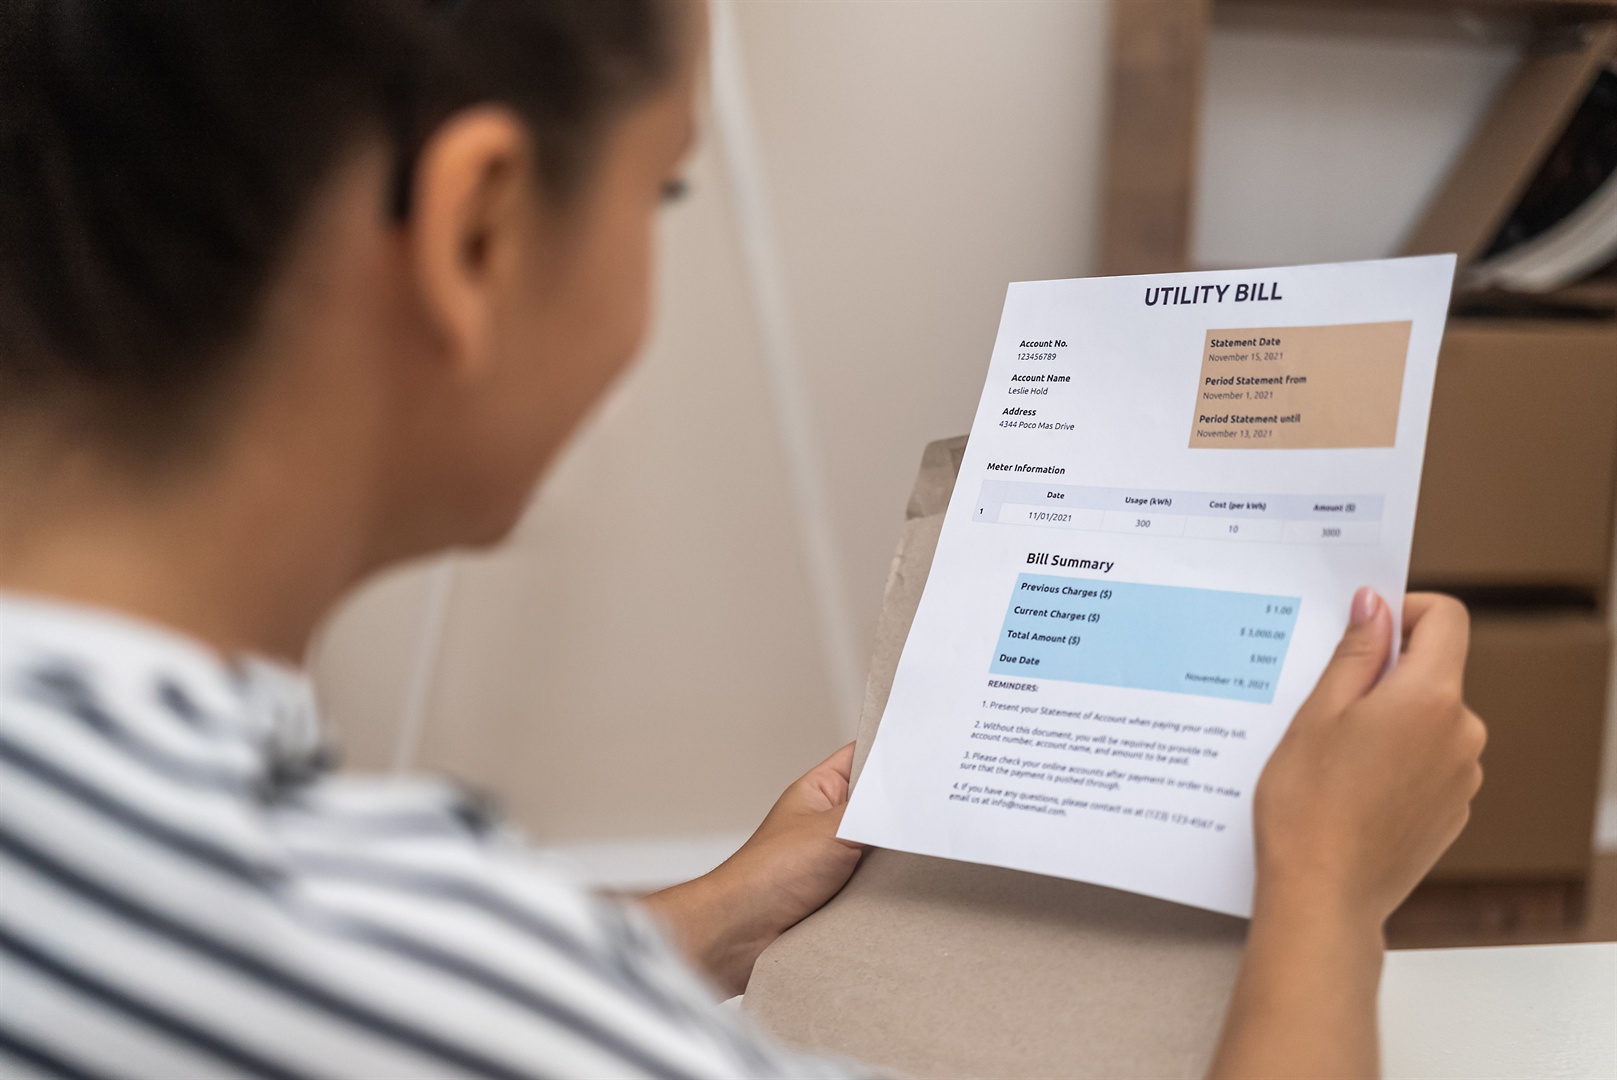
Setting up utility accounts before moving in ensures your home is ready for you from day one. With early planning, correct activation dates, and clear records, you can settle in without any interruptions.
Utilities are essential for comfortable living. These include electricity, water, gas, internet, and sometimes garbage collection. Once your move-in date is confirmed, contact the relevant utility companies to open accounts in your name. Doing this early helps you avoid delays or disconnections on your first day in the home.
Some leases include certain utilities, like water or heat, in the rent. Others require tenants to pay for everything separately. Check your lease agreement to see which services you need to arrange yourself. This avoids confusion and ensures you only pay for what is your responsibility.
Make sure your utility start dates match your move-in date. For example, if you move in on the 15th, arrange for the electricity and internet to be active that day. This way, you can unpack comfortably without worrying about having no light, heat, or Wi-Fi.
Save the account numbers, confirmation emails, and service agreements for each utility provider. Having this information handy makes it easier to manage bills, report issues, or switch providers later.

Tenant insurance is a small monthly cost that gives you big peace of mind. By understanding coverage options, comparing providers, and providing proof early, you protect yourself and meet landlord requirements without stress.
Tenant insurance protects more than just your belongings. It also covers you if someone gets injured in your home or if you accidentally damage the property. Without it, you could face large expenses that you must pay out of pocket.
A good tenant insurance policy typically includes three key areas: personal property, liability coverage, and additional living expenses. Personal property covers your belongings in case of theft, fire, or certain water damage. Liability coverage protects you if you cause harm to others or their property. Additional living expenses help if you need to live elsewhere temporarily after a covered event.
Different insurance companies offer different rates and coverage. Compare at least three quotes to find a policy that balances good protection with affordable cost. You can often save money by bundling tenant insurance with car insurance if you have one.
Many landlords require proof of tenant insurance before giving you the keys. Once you have your policy, ask your insurance company for a confirmation letter or certificate. Send it to your landlord as soon as possible to avoid delays.

By booking movers early, packing smart, and coordinating with your landlord, you can make your move smoother. Good planning also helps you handle surprises with less stress.
Moving companies and rental trucks can be in high demand, especially at the beginning or end of the month. Once you know your closing date, book your movers right away. This ensures you get the time slot and price you want. If you plan to move on your own, reserve the moving truck early too.
Packing is not just about putting things in boxes. It is about organizing your belongings so unpacking is easy. Label each box clearly with its contents and the room it belongs to. Pack heavier items in smaller boxes and lighter items in bigger ones. This keeps the move safer and more efficient.
Some rental properties, especially condos, have specific move-in rules. This might include booking an elevator, using a designated entrance, or moving only during certain hours. Check with your landlord or building management so you can follow the rules and avoid delays.
Even with good planning, things can go wrong—bad weather, traffic, or delays with movers. Have a backup plan. Keep important items like documents, clothes, and daily essentials with you, just in case the rest of your things arrive later.

A final walkthrough protects you from future disputes and ensures the property is move-in ready. By checking everything and documenting it, you start your tenancy with peace of mind.
Before you take the keys, walk through the entire property. Look for any damage, wear, or repairs that were promised but not done. This includes checking the floors, walls, ceilings, and any outdoor areas if applicable.
Turn on the stove, run the taps, flush the toilets, and test the heating or air conditioning. Make sure lights and electrical outlets are working. If something does not function properly, report it immediately so it can be fixed before you move in.
Use your phone to take clear pictures or videos of the property’s condition. This is proof of how the home looked before you moved in. It will help you avoid being blamed for damage that was already there when you leave in the future.
Make sure you receive all the keys, fobs, garage openers, or access codes you need. If the property has a security system, ask for instructions. This ensures you can enter your home easily and safely from day one.

Getting your offer accepted is exciting. It means you are one big step closer to moving into your new home. But the time between now and closing day is important. This is when you make sure everything is ready for a smooth move-in.
By following these steps, you will protect yourself and start your tenancy with confidence. A smooth process means you can focus on enjoying your new home instead of dealing with avoidable problems. So, once your offer is accepted, do not just wait for closing day. Take action, stay prepared, and you will make the transition into your new rental a truly positive experience.
Being a professional real estate agent, I’m here to guide you through every stage of the leasing process. With a dedication to your success, we make renting smarter, simpler, and more rewarding. Your dream home journey deserves nothing less.
Subscribe to our newsletter to see the latest blogs


My services for the seller include initial consultation, market analysis, free estimate, make pricing strategy, home staging consultation, repairs and improvements consultation, professional photography and videography, detailed property description, customized marketing plan, online listings, social media marketing, design and print flyers and brochures, open houses and private showings, ongoing communication and feedback, continuous market monitoring, offer management, negotiation with buyers, counteroffers and finalization, transaction coordination, closing assistance with thirty-parties, and future real estate needs assistance.
This full suite of services is designed to make the selling experience smooth, rewarding, and successful. By partnering with Adam Cui, you are getting a knowledgeable, resourceful, and committed agent who will prioritize your interests and make sure your goals are met efficiently.
My services for the buyer include initial consultation, needs assessment, property search and selection, early access to listing, personalized tours, detailed market analysis, property transaction history research, property inspection coordination with thirty-parties, review of disclosures with third-parties, negotiation on inspection findings, custom offer preparation, expert negotiation, multiple offer handling, detailed contract explanation, legal and compliance assistance with third-parties, liaison with all parties, document assistance, final visits support, homeownership guidance, and lifetime real estate support.
Through each step, my goal is to minimize stress, streamline your home-buying experience, and deliver outstanding value within my 0.88% commission. Whether you are a first-time buyer or a seasoned investor, you can count on my expertise, dedication, and personalized care to make your real estate journey a success.
No. It only applies to the buying and selling property transactions. For rental services, I will charge half of the one-month rent if I represent one party.
No. HST will be added on top of that.
As a buyer, you typically do not pay my 0.88% commission directly. This commission is generally covered by the seller in a real estate transaction.
As your dedicated real estate agent, my priority is to provide you with the best possible service and value. If a seller offers a commission greater than 0.88% for my services, I would still honor my commitment to you, the buyer, and keep only 0.88% as my commission.
The home buying process involves several steps: getting pre-approved for a mortgage, finding the right property, making an offer, and completing inspections. Afterward, you will finalize the mortgage, sign the paperwork, and get the keys. It is essential to have guidance through each step to ensure a smooth and successful purchase.
When making an offer, it is important to consider the market conditions and the property’s value. Consult with your real estate agent to craft a competitive offer. Include necessary contingencies like financing and inspections. Always be prepared to negotiate. This ensures your offer stands out while protecting your interests.
Finding the right home starts with understanding your needs and budget. I will guide you through the process, showing you options that match your criteria. Together, we will explore neighborhoods, amenities, and property features. My goal is to help you find a home where you can see yourself living happily for years to come.

I will reach you back as soon as possible. If you are in a hurry, please press the button below to give me a call now.