

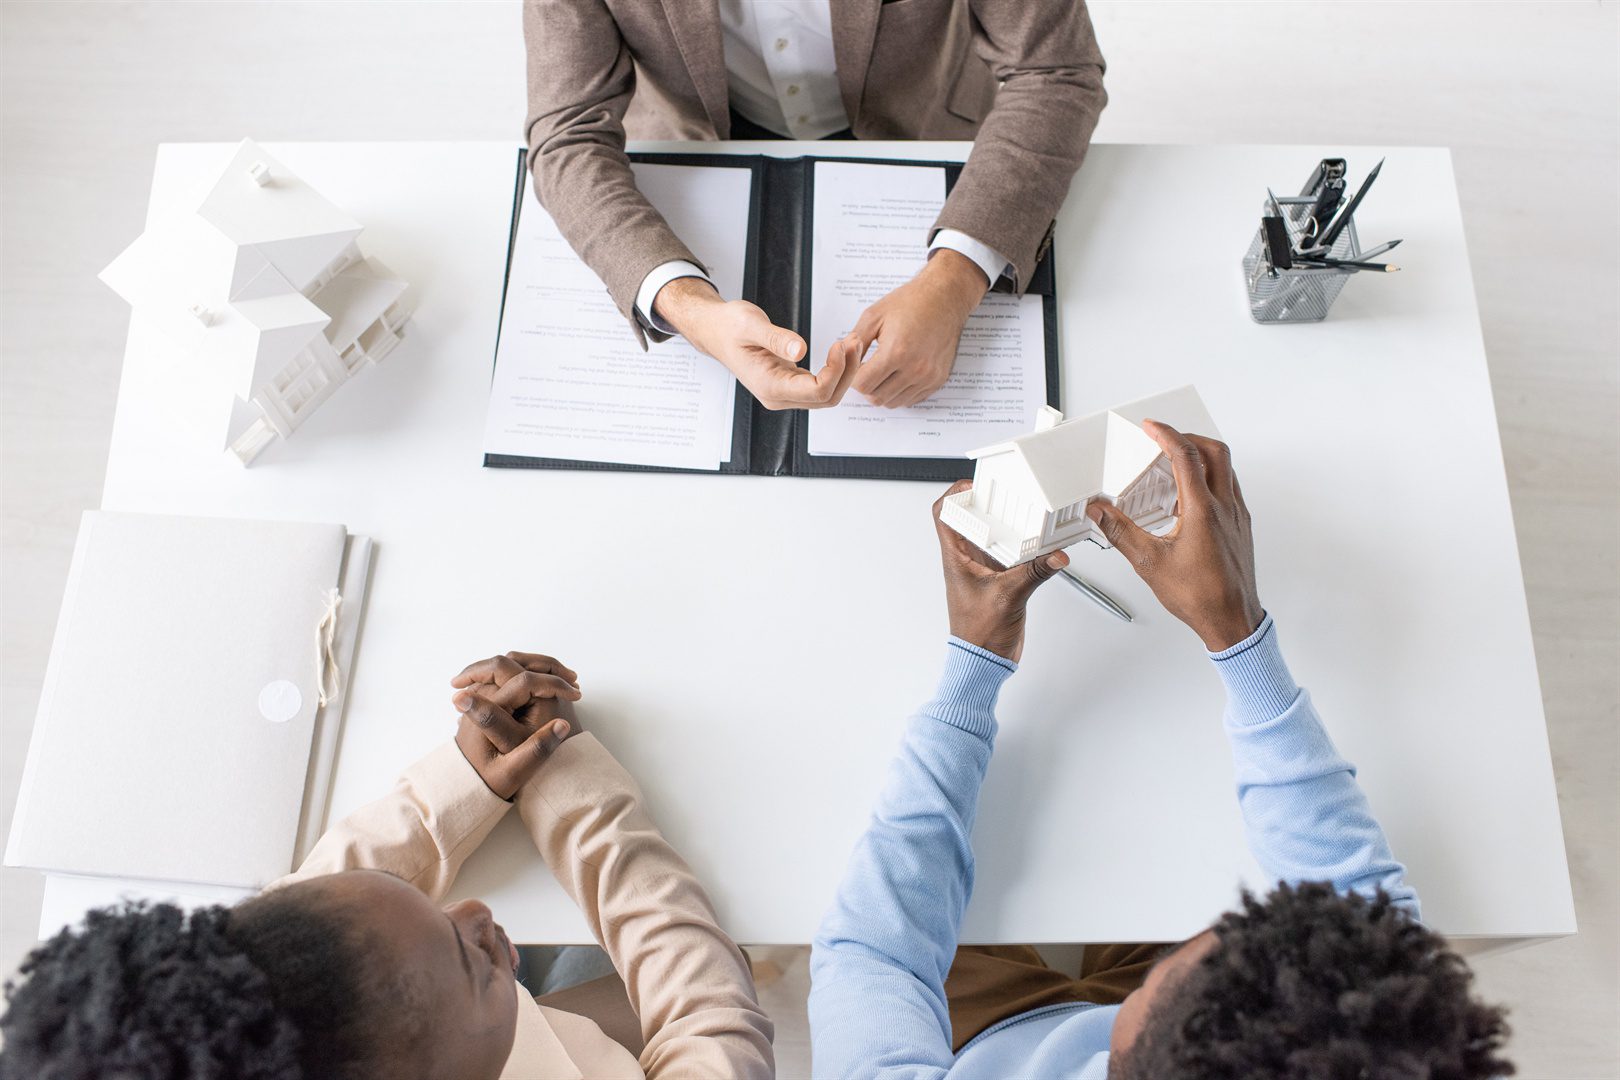
Congratulations! Your firm offer has just been accepted — that is a major milestone in your real estate journey. But while it may feel like the hard part is over, the path to Closing Day still involves a few crucial steps. Many buyers assume that once the offer is firm, everything is automatic. However, there are still important tasks that need your attention. Completing these steps early and thoroughly can help prevent unexpected delays, legal issues, or financial surprises. Whether you are a first-time homebuyer or a seasoned investor, knowing what to do after your offer is accepted can save time, money, and stress.
A firm offer means both the buyer and seller have agreed on the terms and conditions, and there are no more outstanding conditions to fulfill — it is a binding agreement. But do not let that give you a false sense of security. In reality, this is where the final leg of the transaction begins, and being proactive is key to a smooth closing. From confirming your mortgage to hiring a lawyer, every action you take now brings you closer to receiving your keys on time.

Once your offer is accepted, it is essential to confirm that every condition has been met. Even a firm offer can hide small loose ends that might delay closing or cause problems. Taking this step seriously ensures a smooth path forward.
After your offer is accepted, do not just assume everything is done. Take the time to carefully read through your Agreement of Purchase and Sale again. Look closely at any conditions that were part of your offer — such as financing, home inspection, or seller’s disclosures. For example, if your offer was conditional on a home inspection, make sure you have received and accepted the inspection report. If it involved mortgage approval, verify that your lender has given final approval. Missing even a small detail here can delay your closing or cause unexpected costs. So, always double-check every clause and make sure all promises are fulfilled.
Sometimes, agreements include promises that seem minor but can affect your experience. For instance, the seller might have agreed to fix a leaking faucet or include appliances like the fridge or washer. If you are unsure whether these have been addressed, ask your agent to confirm. Also, any vague or unclear wording should be clarified in writing. This way, you avoid surprises later. Remember, it is better to spend extra time now clarifying details than to deal with disputes after closing.
Effective communication is key to avoiding last-minute problems. Your real estate agent should keep in touch with the seller’s agent regularly. They can confirm if the seller has completed their responsibilities, such as repairs or document submissions. This communication also helps schedule necessary inspections or walkthroughs. A quick update call or email can catch issues early and give you time to address them before closing day.
Verbal promises are not reliable in real estate transactions. Always insist on written confirmation — emails or signed documents — for every completed condition. This provides a clear record in case disagreements arise. Having written proof protects you and strengthens your legal position if anything goes wrong. Keep copies of all communications and paperwork until after closing.
Hiring a real estate lawyer as soon as your offer is accepted is one of the smartest moves you can make. They handle all the legal paperwork, ensure the title is clean, and coordinate the final closing process. Early involvement helps prevent costly delays.
Not every lawyer handles real estate regularly, so it is important to pick one who specializes in this area. A real estate lawyer knows local laws, understands the paperwork, and has experience dealing with lenders, municipalities, and title companies. You can ask friends, family, or your real estate agent for referrals. Choosing the right lawyer means smoother communication and fewer surprises. Their expertise is invaluable, especially when dealing with complex issues like title searches or zoning questions.
Even if your agreement looks straightforward, your lawyer will carefully review every page. They check for any unusual clauses or hidden fees that could affect your rights or finances. They also verify that the property title is clear and free of liens or disputes. Your lawyer may uncover important issues that your agent or lender might miss. By catching these early, you avoid problems on closing day and protect your investment.
On closing day, your lawyer is your point person. They receive funds from your mortgage lender and arrange payment to the seller. They also make sure that all legal documents are signed and properly registered. This includes transferring the property title into your name. Additionally, your lawyer handles final adjustments for taxes, utility bills, or condo fees so you only pay what is fair. Without your lawyer, the sale cannot be legally completed.
To keep everything on track, you must be responsive to your lawyer’s requests. This means promptly providing identification, mortgage approval letters, or signed documents. Delays in providing information can slow down the closing process and cause frustration. By staying organized and communicative, you help your lawyer complete their work efficiently. This reduces stress and helps you get the keys on time.

After your firm offer is accepted, completing your mortgage approval and arranging the home appraisal are essential steps. These confirm your financing and verify the property’s value. Staying proactive here helps avoid delays and ensures a smooth path to closing.
Once your offer becomes firm, your lender will require additional documents and final approvals to proceed. This may include updated income statements, employment verification, or credit information. Providing these promptly is critical. Delays in submitting paperwork can slow down your mortgage process. Therefore, keep open communication with your lender and respond quickly to their requests. Doing so helps maintain your closing timeline and reduces stress.
The lender typically requires a professional appraisal to confirm that the property’s market value supports the loan amount. This protects the lender’s investment by ensuring they do not lend more than the property is worth. Scheduling the appraisal early is important to allow enough time for the report before closing. Keep in mind that the appraiser will inspect the home’s condition, location, and comparable sales nearby. The appraisal outcome plays a big role in mortgage approval.
If the appraisal value meets or exceeds the agreed purchase price, it is good news that keeps your mortgage approval on track. However, if the appraisal comes in lower than expected, this may require renegotiating the price with the seller or increasing your down payment to cover the difference. Knowing these scenarios helps you plan ahead. Do not panic if the appraisal is low — consult your agent and lender about the best options.
Before closing, your lender will need all signed loan documents, insurance proof, and other forms completed. Missing or late paperwork can cause funding delays, which in turn push back closing dates. Staying organized and responsive to your lender’s requests ensures your mortgage funds will be ready on time. Prompt action on your part supports a smooth closing and gives you peace of mind.

Home inspections and final walkthroughs give you peace of mind by verifying the property’s condition. They help uncover any problems and confirm repairs were done. Scheduling these on time keeps you informed and helps avoid last-minute surprises.
If your offer included a home inspection condition, schedule it quickly once the offer is firm. A certified home inspector will carefully examine important elements like the foundation, roof, plumbing, electrical systems, heating, and cooling. The inspector provides a detailed report highlighting any defects or needed repairs. Early inspections give you time to ask the seller for fixes or negotiate credits before closing. Do not delay this step, as it is crucial to avoid costly problems later.
The final walkthrough typically happens a day or two before closing. This is your last chance to inspect the property to ensure everything is in the agreed condition. During the walkthrough, check that all requested repairs have been completed and that appliances and systems are working properly. Also, verify no new damages or changes have occurred since your last visit. If you spot any issues, alert your agent immediately. This step helps you avoid surprises when you take possession.
In some cases, buyers waive home inspections to speed up the deal or because they trust the seller. If you choose to waive an inspection, a thorough final walkthrough becomes even more important. Also, new construction homes may require different types of inspections or warranties. Understanding your specific situation and risks helps you decide which steps you must take before closing.
If problems arise during the inspection or final walkthrough, communicate them right away to your real estate agent and lawyer. Your agent can negotiate repairs, price reductions, or other solutions with the seller. Meanwhile, your lawyer ensures any changes are legally documented and reflected in the closing process. Quick and clear communication is key to resolving issues without delaying your closing date.

Securing home insurance is a crucial step before closing. It protects your investment from risks like fire, theft, or weather damage. Early preparation ensures you meet lender requirements and enjoy peace of mind from day one in your new home.
Most mortgage lenders require proof of home insurance before they release the loan funds. This is because the insurance protects both you and the lender from financial loss if the property is damaged. Without valid insurance, the lender’s risk is too high, and they may delay or even cancel the mortgage. Therefore, arranging your home insurance early is important. Doing so not only satisfies lender requirements but also means you are protected from day one. Also, some policies have a waiting period, so booking early avoids gaps in coverage.
Not all home insurance policies are the same. Different companies offer different coverage options, premiums, deductibles, and customer service levels. It pays to spend time getting quotes from multiple insurers. Look for discounts as well, such as bundling your home and auto insurance or installing smoke detectors and security systems. Reading customer reviews can also reveal how well an insurer handles claims. By comparing your options, you can find a policy that fits your budget without compromising coverage.
Every home is unique and may require different insurance protection. For example, older homes often need extra coverage for outdated plumbing or electrical systems. Condos generally require insurance for your unit is interior, while the building’s exterior is covered by the condo corporation. If you live in an area prone to flooding or earthquakes, consider adding specific riders for those risks. Also, liability coverage is important — it protects you if someone gets hurt on your property. Tailoring your policy to your situation ensures you are fully protected.
After you purchase your home insurance, it is important to send a copy of the insurance binder or policy declaration page to your mortgage lender as proof. This confirms that you meet their loan conditions. Keep all your insurance documents organized and accessible for your records. You may need them in the future for claims or renewals. Having everything ready ensures a smooth closing and peace of mind knowing you are protected.
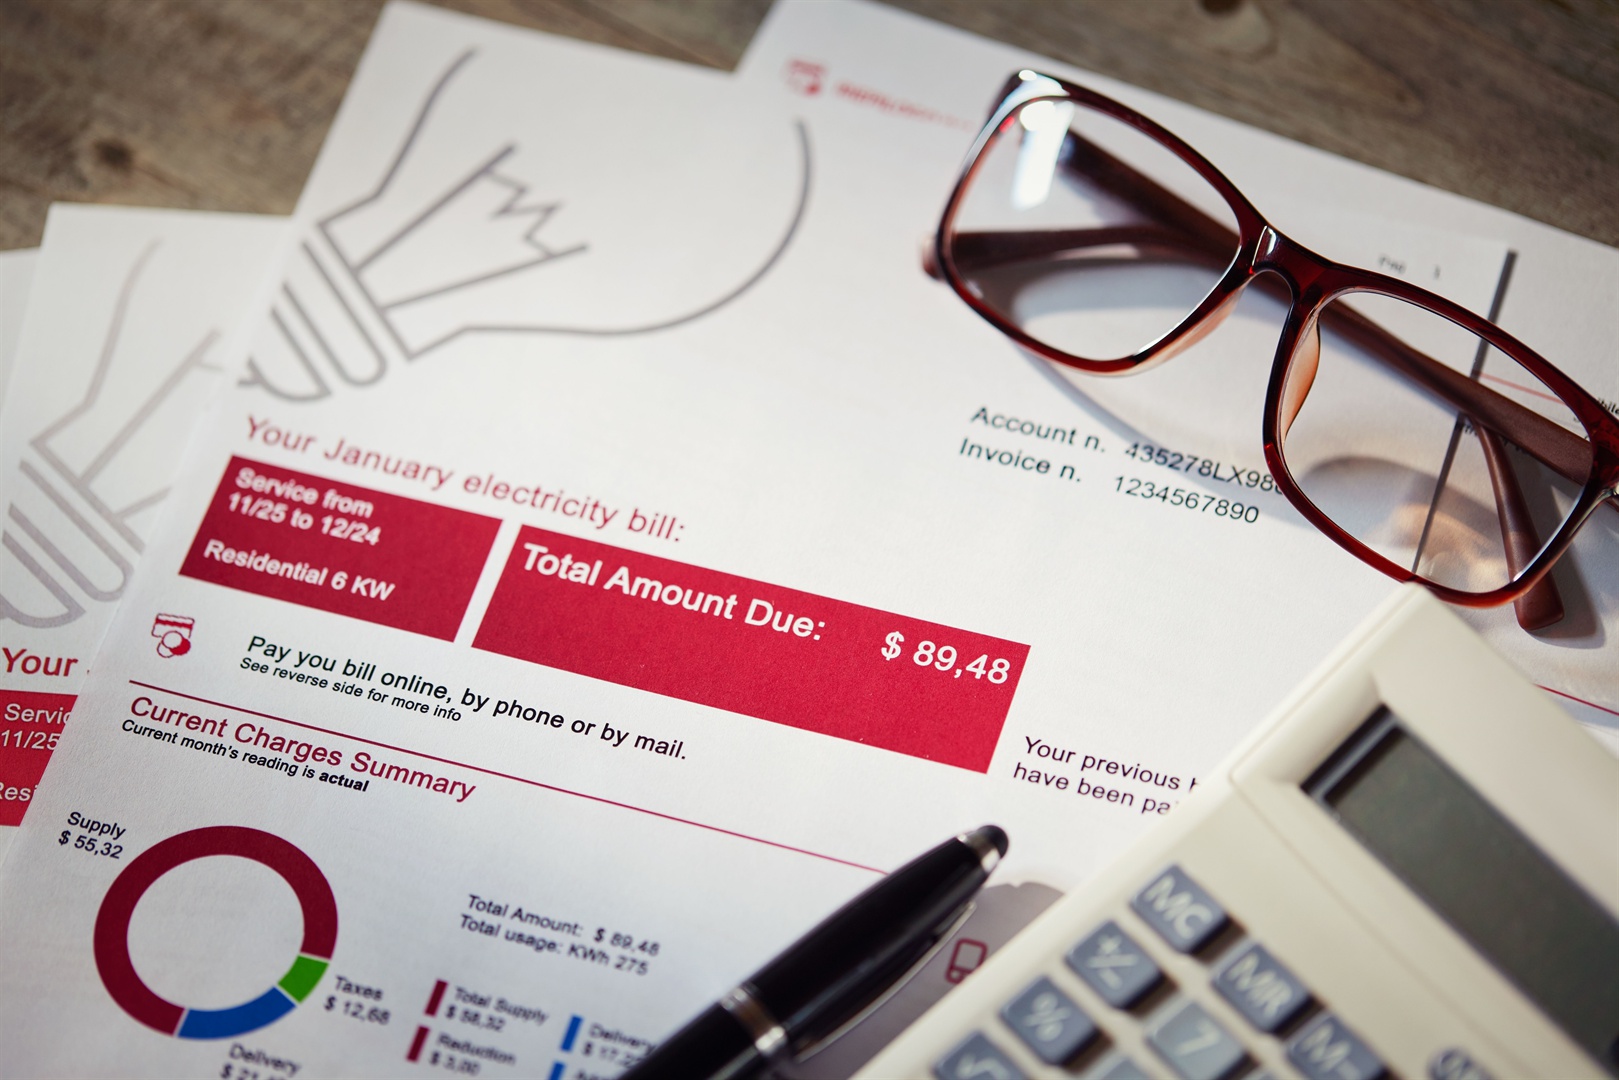
Before moving into your new home, arranging utility transfers and updating your address are key steps. These actions help avoid service interruptions and ensure your mail and bills reach you promptly. Planning ahead makes your move easier and less stressful.
Utilities you need to transfer or activate typically include electricity, gas, water, internet, cable or satellite TV, and waste collection. Start by listing all current providers and the services you will need at your new home. Contact each provider early to schedule disconnection at your old address and connection at your new one. Timely coordination prevents living without essential services like heat or internet after your move. Do not forget lesser-known utilities such as security systems or lawn irrigation, if applicable.
Besides utilities, updating your address with banks, credit card companies, government agencies (like the tax office and driver’s license bureau), insurance companies, subscription services, and even friends and family is important. This ensures important documents, bills, and personal mail are forwarded correctly and you do not miss any deadlines or notices. Set reminders or use online change-of-address services to simplify this process.
Proper timing is essential. Arrange for your utilities to be disconnected the day after you move out of your old home and activated the day before or the day of your move-in. This avoids paying for services you no longer need and prevents days without electricity, water, or internet in your new place. Confirm start and stop dates in writing, and double-check with providers a few days before to avoid surprises.
When you arrange utility transfers, keep detailed records. Save confirmation emails, note down customer service representatives’ names, reference numbers, and scheduled dates. This information can help quickly resolve any issues that arise. Being organized during this busy time reduces stress and ensures a smooth transition to your new home.

Understanding closing costs and payment details is essential to avoid surprises on closing day. By carefully reviewing these numbers, you can prepare financially and ensure a smooth and stress-free transaction.
Closing costs are additional fees beyond the purchase price. They usually include lawyer or notary fees, land transfer tax, title insurance, and sometimes adjustments for property taxes or utilities. These fees can vary depending on the property and location. It is important to get a detailed estimate early in the process. This way, you can budget accordingly. Remember, these costs can add up to several thousand dollars, so do not overlook them. Being informed upfront prevents last-minute financial pressure.
Before closing, your lawyer will provide a statement showing the total amount you owe. This includes your down payment plus all closing costs. Often, this amount must be paid by certified funds or bank draft. Make sure you arrange these funds ahead of time. Waiting until the last minute can cause delays. Also, double-check with your lawyer to confirm the payment method and deadline. Being prepared will help your closing go smoothly without any surprises.
Closing day adjustments are common and important to understand. Property taxes, utilities, and condo fees may be prorated between buyer and seller. For example, if the seller has already paid property taxes for the whole year, you might owe them a share from the closing date onward. Similarly, utilities used before you move in could be adjusted in your favor. Reviewing these details ensures fairness in the deal and helps you anticipate the final payment accurately.
If you do not understand any charges or figures on the closing statement, ask questions immediately. Your lawyer or real estate agent can explain each item clearly. Do not assume anything. Early clarification prevents confusion and mistakes at closing. Also, it builds your confidence. Remember, this is a significant financial transaction, so knowing exactly where your money is going is crucial.

Preparing for key pickup and final closing day is exciting but requires good planning. Knowing what to expect and coordinating well will help make your move-in day smooth and joyful.
Your lawyer or real estate agent will let you know when and where the closing will happen. This might be at a lawyer’s office, the lender’s office, or even online. Confirm these details well before the closing day. This avoids any last-minute confusion or scheduling conflicts. Planning your day around the appointment helps reduce stress. Make sure you know if you need to bring any documents or identification to the meeting.
During the closing, you will sign all final documents to transfer ownership legally. This includes the deed, mortgage paperwork, and other legal forms. Your lawyer will guide you through each step to ensure everything is correct. You will also pay the closing amount at this time. Understanding this process helps you feel more confident.
After all documents are signed and funds are transferred, you will receive the keys to your new home. Sometimes, keys are handed over directly at the closing appointment. Other times, your real estate agent may deliver them. Confirm how and when you will get your keys to avoid surprises. Having access to your new home marks the official start of your ownership and is a memorable moment.
A final walk-through is often done just before or on closing day. This is your last chance to ensure the property is in the agreed condition. Check that any repairs are completed and that no new damage occurred since your last visit. If you find any issues, inform your agent or lawyer right away. This step protects you from unexpected problems once you move in. A quick, careful walk-through helps give you peace of mind.

In summary, once your firm offer is accepted, the countdown to closing day begins — and every step matters. From securing home insurance to arranging a final walkthrough, each task plays a key role in making your homeownership journey smooth and successful.
Most importantly, keep the lines of communication open. As your trusted real estate professional, I’ll be here to guide you at every step—right up until the keys are in your hand.
Buying a home is a big milestone, and with the right preparation, it can also be a joyful and rewarding one. So stay focused, stay informed, and enjoy the process.
Being a professional real estate agent, I’m here to guide you through every stage of the buying process. With just a 0.88% commission(This commission only applies to property buying and selling transactions.), professional support, and a dedication to your success, we make buying smarter, simpler, and more rewarding. Your dream home journey – whether buying or selling – deserves nothing less.
Subscribe to our newsletter to see the latest blogs


My services for the seller include initial consultation, market analysis, free estimate, make pricing strategy, home staging consultation, repairs and improvements consultation, professional photography and videography, detailed property description, customized marketing plan, online listings, social media marketing, design and print flyers and brochures, open houses and private showings, ongoing communication and feedback, continuous market monitoring, offer management, negotiation with buyers, counteroffers and finalization, transaction coordination, closing assistance with thirty-parties, and future real estate needs assistance.
This full suite of services is designed to make the selling experience smooth, rewarding, and successful. By partnering with Adam Cui, you are getting a knowledgeable, resourceful, and committed agent who will prioritize your interests and make sure your goals are met efficiently.
My services for the buyer include initial consultation, needs assessment, property search and selection, early access to listing, personalized tours, detailed market analysis, property transaction history research, property inspection coordination with thirty-parties, review of disclosures with third-parties, negotiation on inspection findings, custom offer preparation, expert negotiation, multiple offer handling, detailed contract explanation, legal and compliance assistance with third-parties, liaison with all parties, document assistance, final visits support, homeownership guidance, and lifetime real estate support.
Through each step, my goal is to minimize stress, streamline your home-buying experience, and deliver outstanding value within my 0.88% commission. Whether you are a first-time buyer or a seasoned investor, you can count on my expertise, dedication, and personalized care to make your real estate journey a success.
No. It only applies to the buying and selling property transactions. For rental services, I will charge half of the one-month rent if I represent one party.
No. HST will be added on top of that.
As a buyer, you typically do not pay my 0.88% commission directly. This commission is generally covered by the seller in a real estate transaction.
As your dedicated real estate agent, my priority is to provide you with the best possible service and value. If a seller offers a commission greater than 0.88% for my services, I would still honor my commitment to you, the buyer, and keep only 0.88% as my commission.
The home buying process involves several steps: getting pre-approved for a mortgage, finding the right property, making an offer, and completing inspections. Afterward, you will finalize the mortgage, sign the paperwork, and get the keys. It is essential to have guidance through each step to ensure a smooth and successful purchase.
When making an offer, it is important to consider the market conditions and the property’s value. Consult with your real estate agent to craft a competitive offer. Include necessary contingencies like financing and inspections. Always be prepared to negotiate. This ensures your offer stands out while protecting your interests.
Finding the right home starts with understanding your needs and budget. I will guide you through the process, showing you options that match your criteria. Together, we will explore neighborhoods, amenities, and property features. My goal is to help you find a home where you can see yourself living happily for years to come.